Plugin for WooCommerce and PrestaShop
This chapter contains instructions on how to quickly integrate the implemented software that implements the functionality of the online store with the nip24.pl system. The latest versions of plug-ins and plug-ins are always available for download from the website Download.
Using plug-ins and plug-ins requires creating an account on nip24.pl and generating a key and its identifier. The process of registering and creating an account and generating keys is described at main documentation page.
WooCommerce
Below is a description of the installation and configuration of the plugin for the Woo Commerce online store.
Installation
Select a tab from the management panel Plugins and Add new, then select a button Upload the plugin to the server. Click Explore… and point to the woocommerce-nip24-xxxzip file, where xxx is the latest version number. After successful installation, you will see the following message: The plugin has been installed. Finally, all you have to do is click the button Enable the plugin to activate it.
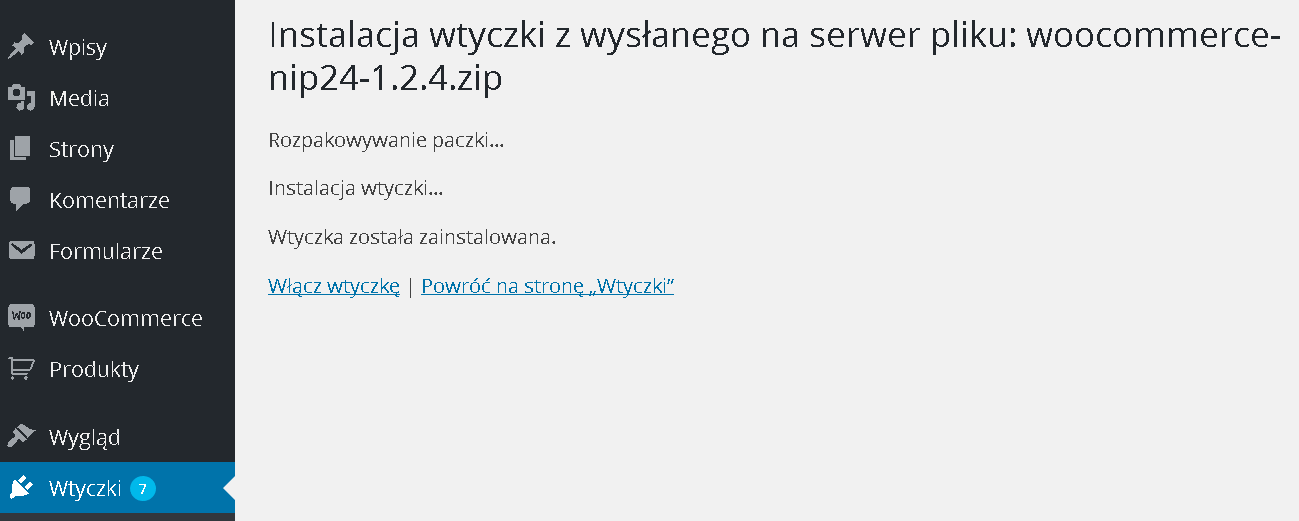
Attention! After installation, you need to configure the plugin.
Configuration
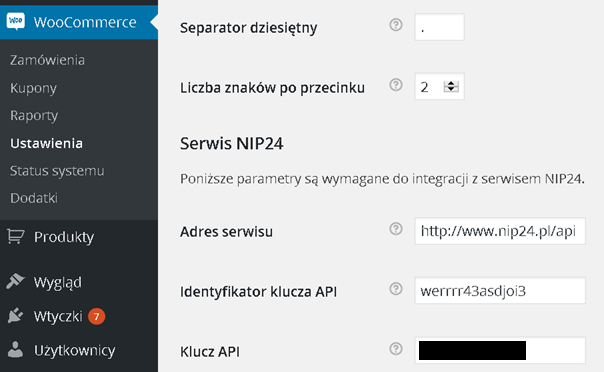
In order to properly configure the plugin, you need to have a generated key and ID. From the management panel you need to select WooCommerce and go to the menu Settings, and then on the tab Main settings scroll the page to the bottom to the NIP24 Service section. In the field Website address the URL should be entered: https://www.nip24.pl/api. In the field API key ID please enter the ID generated on nip24.pl. In the field API key please enter the key corresponding to the identifier, which should also be generated from the nip24.pl portal. The method of obtaining the key and ID is described in the chapter Generating an ID and access key. After completing the configuration, save your changes.
Attention! The plugin will download data only after purchasing one of the plans: https://nip24.pl/oferta/. It is possible to test the plugin for free in a test environment, but only for a limited number of Tax Identification Numbers, listed on the website: https://nip24.pl/api-do-testow/. To connect the plug to the test environment you need to provide the following parameters in the backoffice in the plugin settings:
Website address: https://www.nip24.pl/api-test
API key ID: test_id
API key:test_key
The figure below shows an example configuration.
Usage
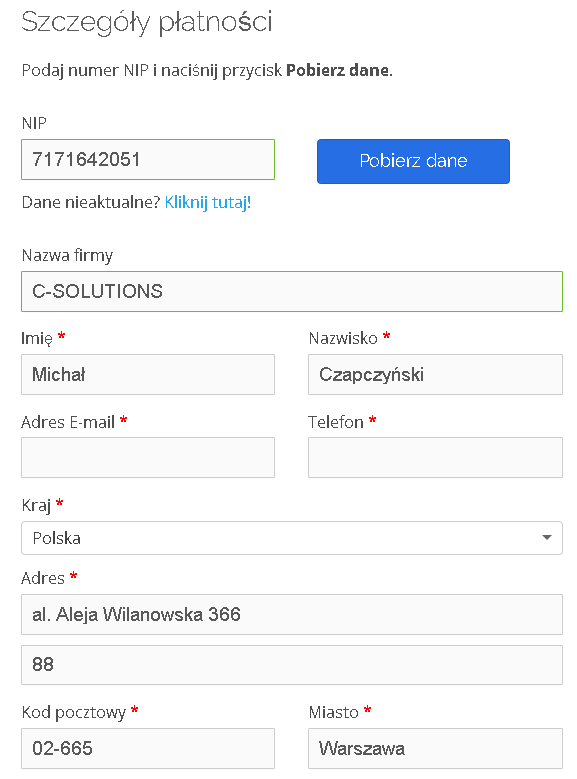
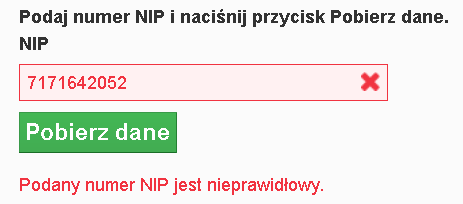
Using the module is very simple and comes down to entering the correct NIP number in the form used to place an order and clicking the button Download data. The remaining fields of the form are completed based on the entered NIP number. If some data is out of date, e.g. address or postal code, the user can use the link Data out of date? Click here!, which causes a direct query of the reference database and downloads the most up-to-date data for the entered NIP number.
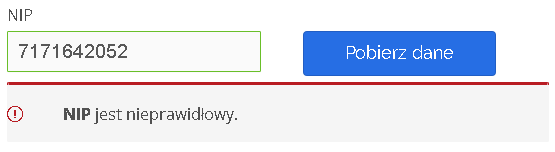
If the entered NIP number is incorrect, the user will be informed about it with an appropriate message:
Uninstallation
To uninstall the plug-in from the management panel, select the tab Plugins and Installed plugins, then click Turn off. After disabling the plug-in, you can remove it by clicking the Delete button. To delete all files related to the plugin, confirm by clicking Yes. Delete these files.

PrestaShop
Below is a description of the installation and configuration of the plugin for the PrestaShop online store version 1.7.3. Attention! Currently, our module only works properly in this version of the PrestaShop server.
Installation
Download the latest version of the plugin (ZIP file) from the website Download. The downloaded file called nip24-prestashop-plugin-xxxzip (where xxx is the version number) should be unpacked on your local disk. Then the directory gusapinip24pl, you have to copy it manually to the server to the directory $prestashop_home/modules and install from the PrestaShop management panel.
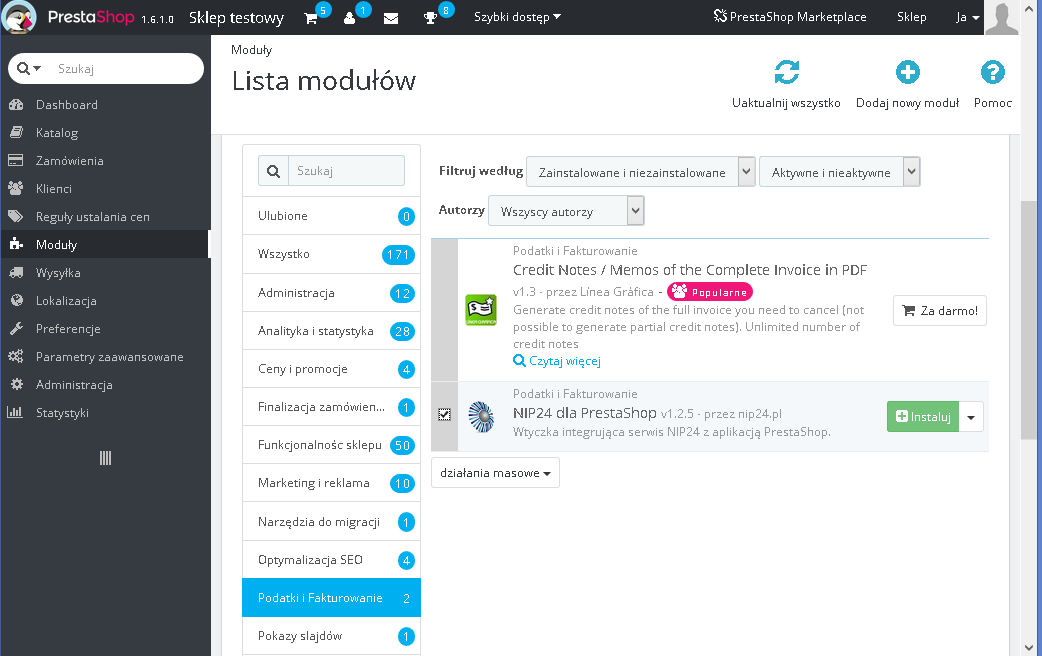
Log in to the management panel and select a tab Modules, then select the bookmark Taxes and invoicing. In the list of modules available for installation, find the module named NIP24 for PrestaShop and click Install.
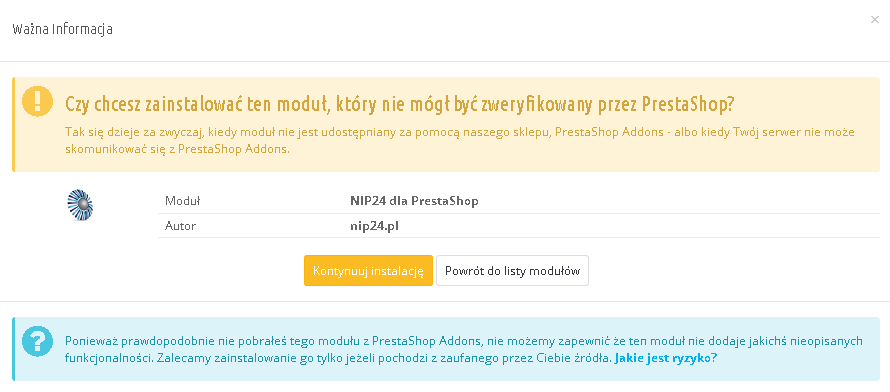
The installer will display a message informing that the NIP24 module could not be verified by PrestaShop. To continue the installation, click the button Continue installation.
After successful installation, you will see the following message: Module(s) installed correctly.

In order to use the module, it must be configured, which is described in the next chapter.
Configuration
In order to properly configure the module, it is necessary to have a generated key and identifier. The configuration window is displayed immediately after the installation process is successfully completed. You can also go to the configuration options at any time by clicking the button Configure displayed next to the NIP24 module:

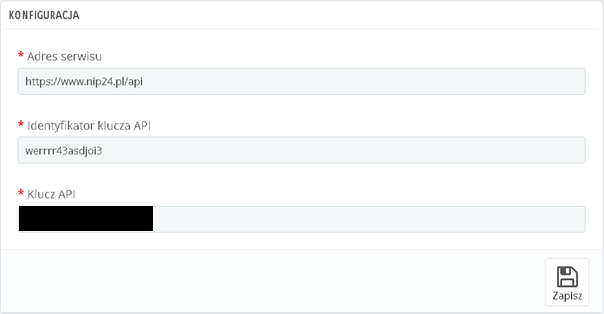
In the field Website address the URL should be entered: https://www.nip24.pl/api. In the field API key ID please enter the ID generated on your nip24.pl account. In the field API key please enter the key corresponding to the identifier, which should also be generated from the nip24.pl portal. The method of obtaining the key and ID is described in the chapter Generating an ID and access key. After completing the configuration, save the changes made by clicking Save.
Attention! The plugin will download data only after purchasing one of the plans: https://nip24.pl/oferta/. It is possible to test the plugin for free in a test environment, but only for a limited number of Tax Identification Numbers, listed on the website: https://nip24.pl/api-do-testow/. To connect the plug-in to the test environment, enter the following parameters in the backoffice in the plug-in settings:
Website address: https://www.nip24.pl/api-test
API key ID: test_id
API key:test_key
You should see a message informing you that the configuration has been successfully updated:
![]()
Usage
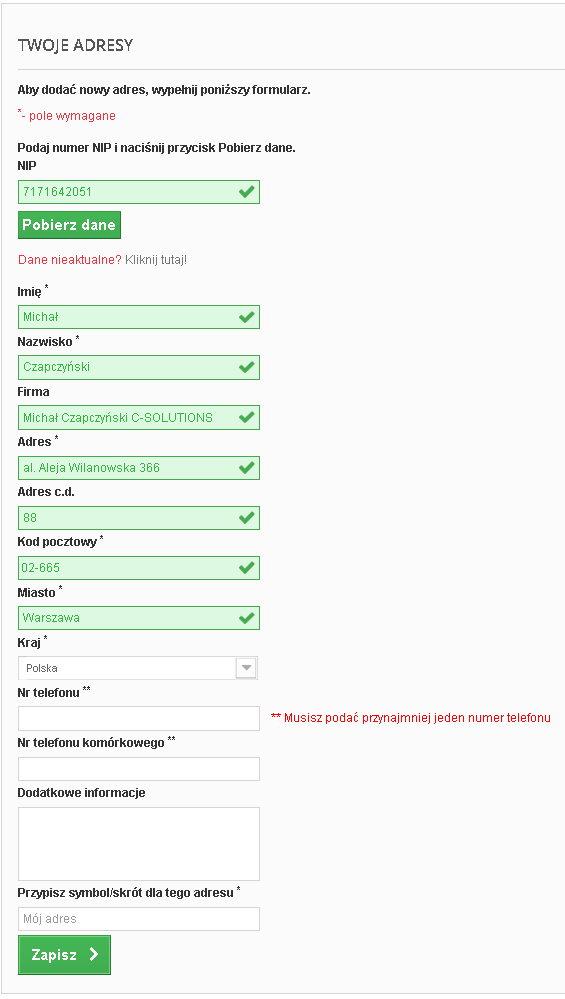
Using the module is very simple and comes down to entering the correct NIP number in the form used to place an order and clicking the button Download data. The remaining fields of the form are completed based on the entered NIP number. If some data is out of date, e.g. address or postal code, the user can use the link Data out of date? Click here!, which causes a direct query of the reference database and downloads the most up-to-date data for the entered NIP number.
You can test how the plugin works in the demo version of the store available at: https://demoprestashop.nip24.pl
If the entered NIP number is incorrect (the control number does not match), the user will be informed about it with an appropriate message:
Uninstallation
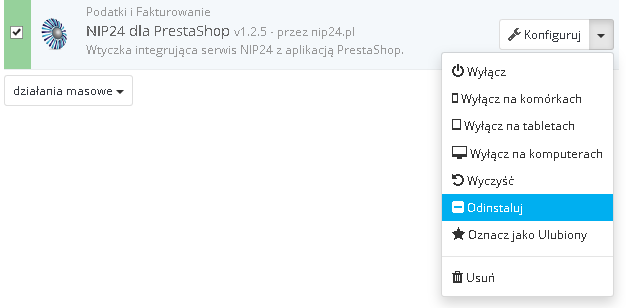
To uninstall the module from the management panel, select the tab Modules, then select the bookmark Taxes and invoicing. Search for the NIP24 module on the list, expand the options available by the button Configure and select Uninstall.
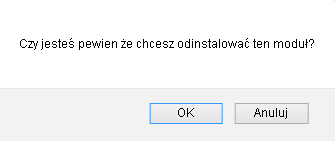
The system will display a message confirming that you want to uninstall the module. To delete all files related to the module, confirm by clicking APPROX.
Correct uninstallation of the module is confirmed by the message:
